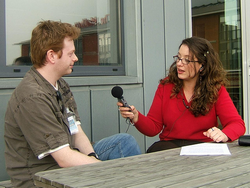
Parliamentary discussion
Parliamentary discussion
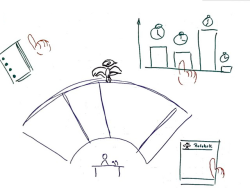
Picture from workshop at the methopedia project
Short description
Suitable as a goal-oriented task for large groups (at least 30 people). Requires clear definition of the goals by workshop organizers in advance. Minimum time required is 3 hours.
Process description
-
Preparation
The workshop leaders first define the purpose
Participants are divided into same size groups according to earlier defined criteria (e.g. according to age, education, or regional affiliation)
Rules of the game are defined and distributed by the workshop leaders
-
Implementation
A topic is given to the (parliamentary) groups, so they can define their position
According to a set timetable, the faction leaders meet to determine an overall notion
A plenary discussion with equally allocated speaker times follows
To close, a democratic vote takes place, so the overall result can be logged
-
Completion
The workshop organizers produce the final report in a timely fashion
Required resources
Game rules
paper
flip chart
presentation equipment
PSI: https://psi.methopedia.eu/learning-activity/parliamentary-debate